Celebrate Rye In August

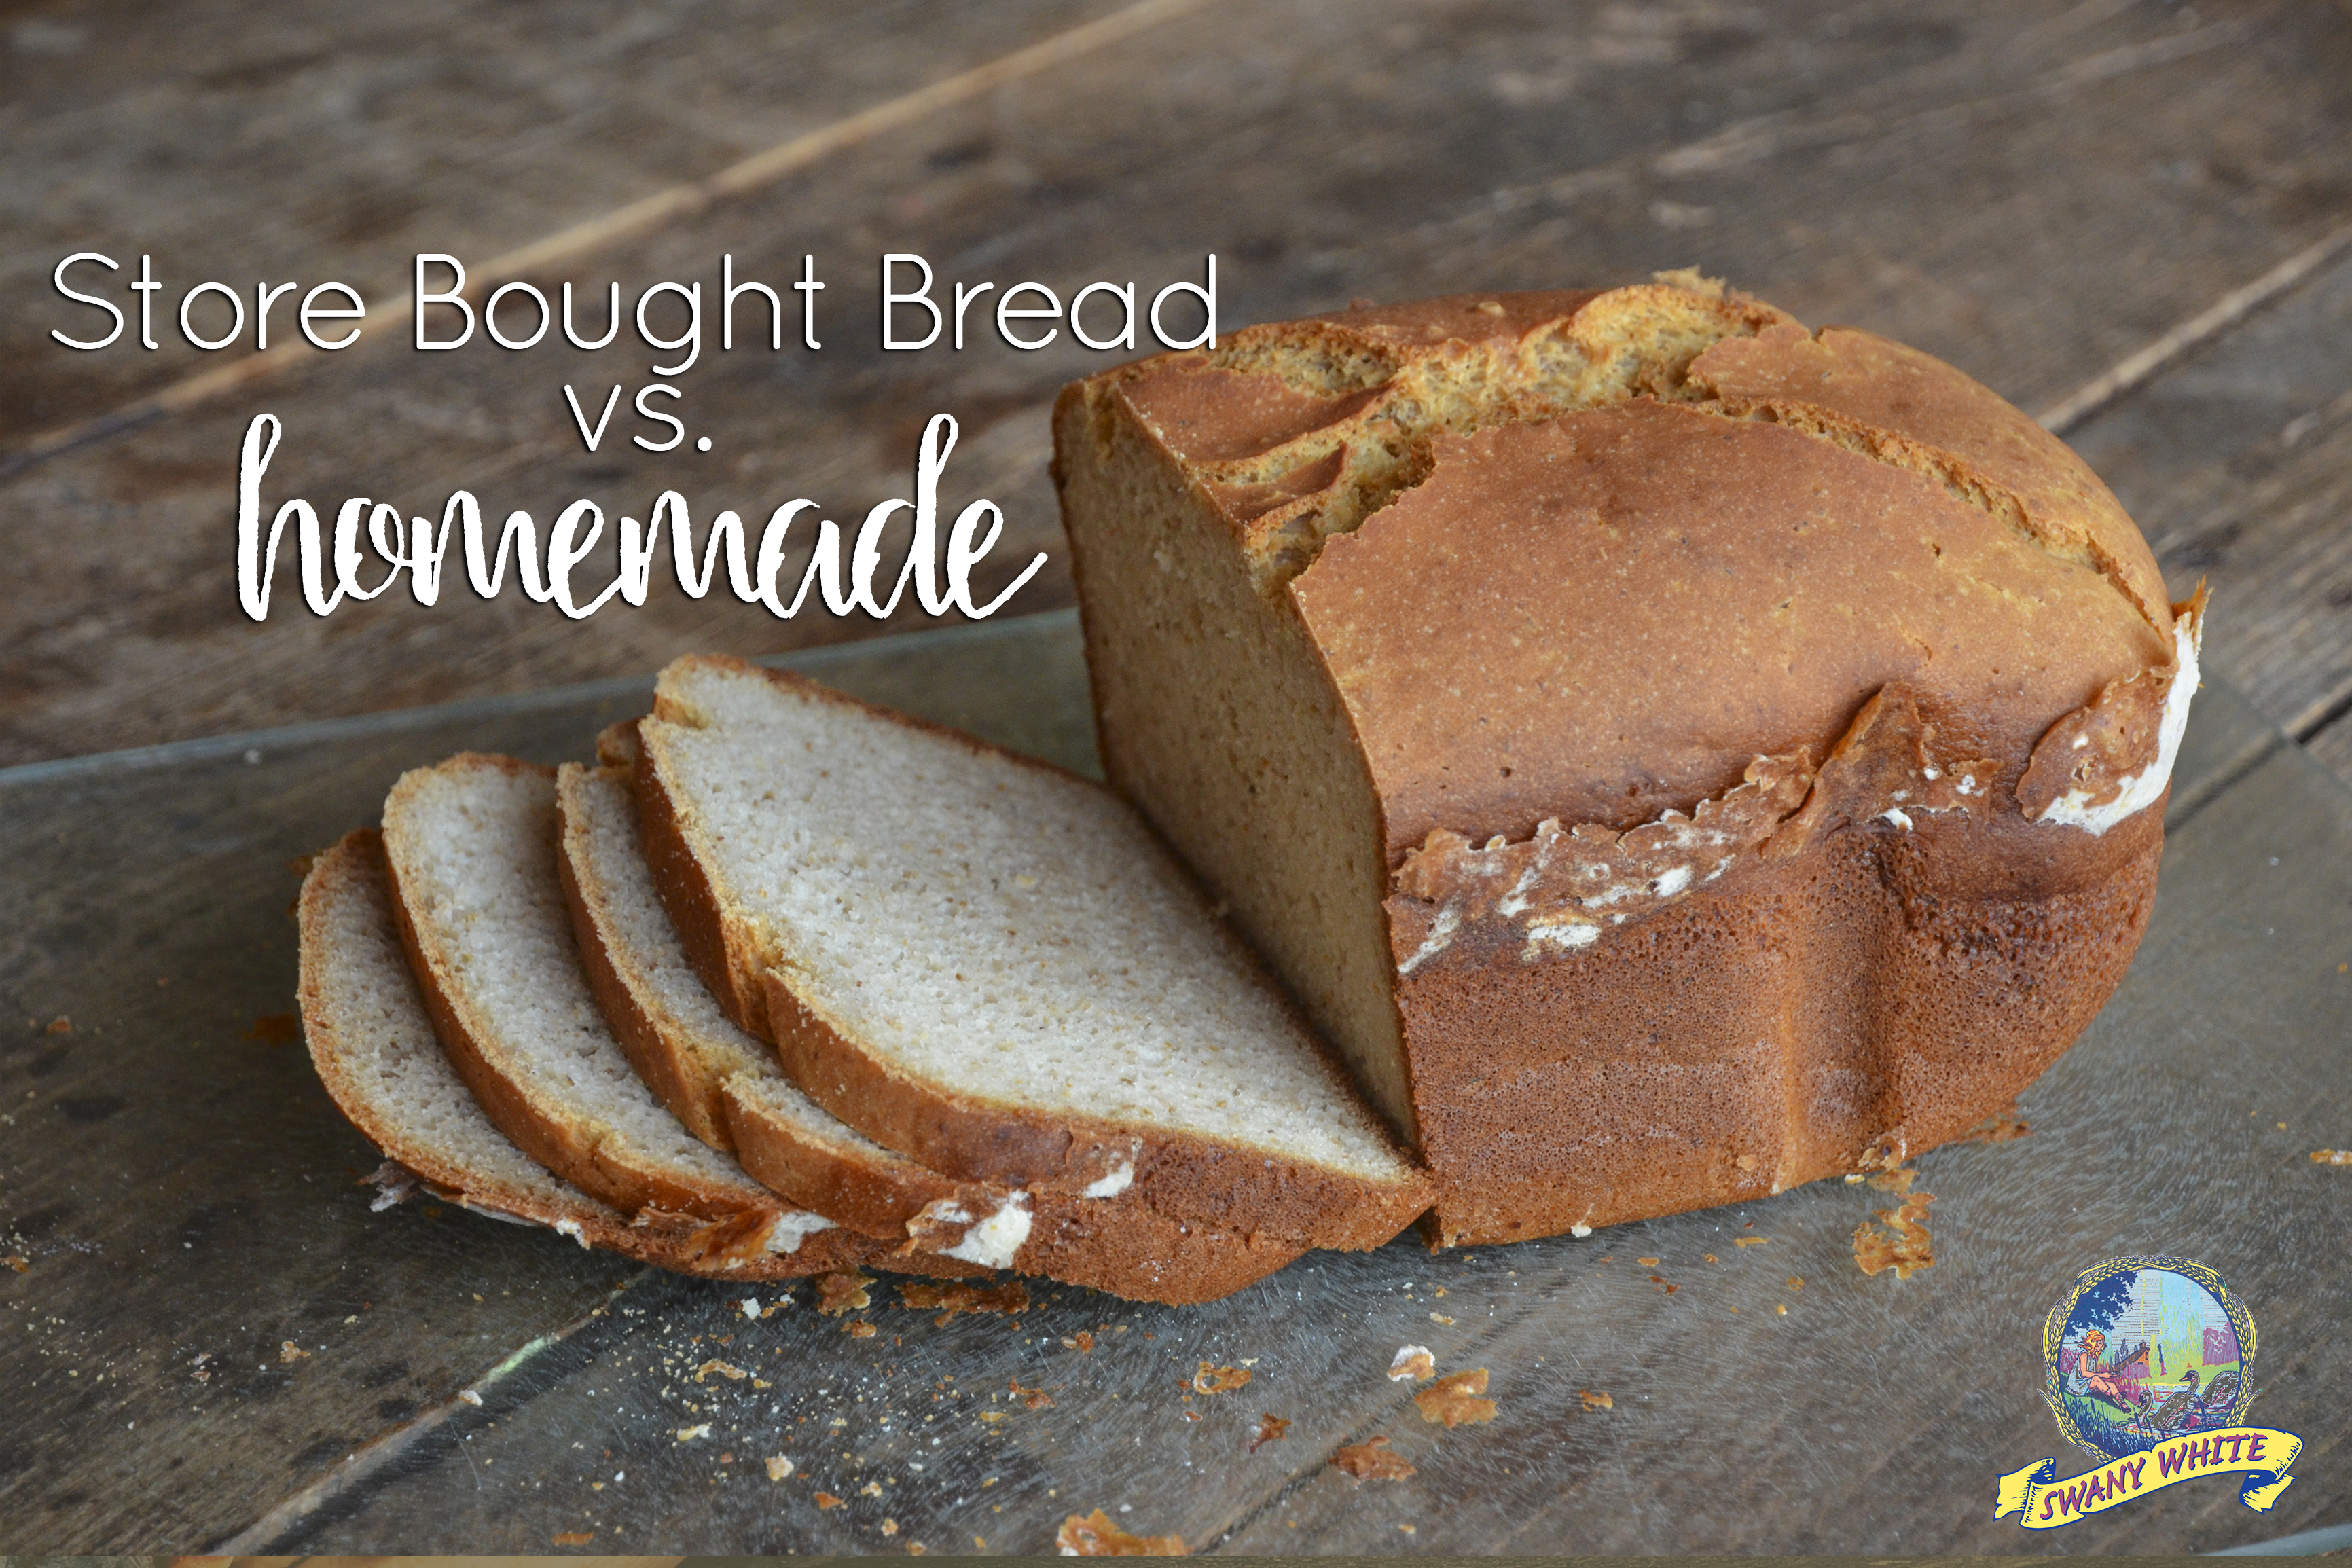
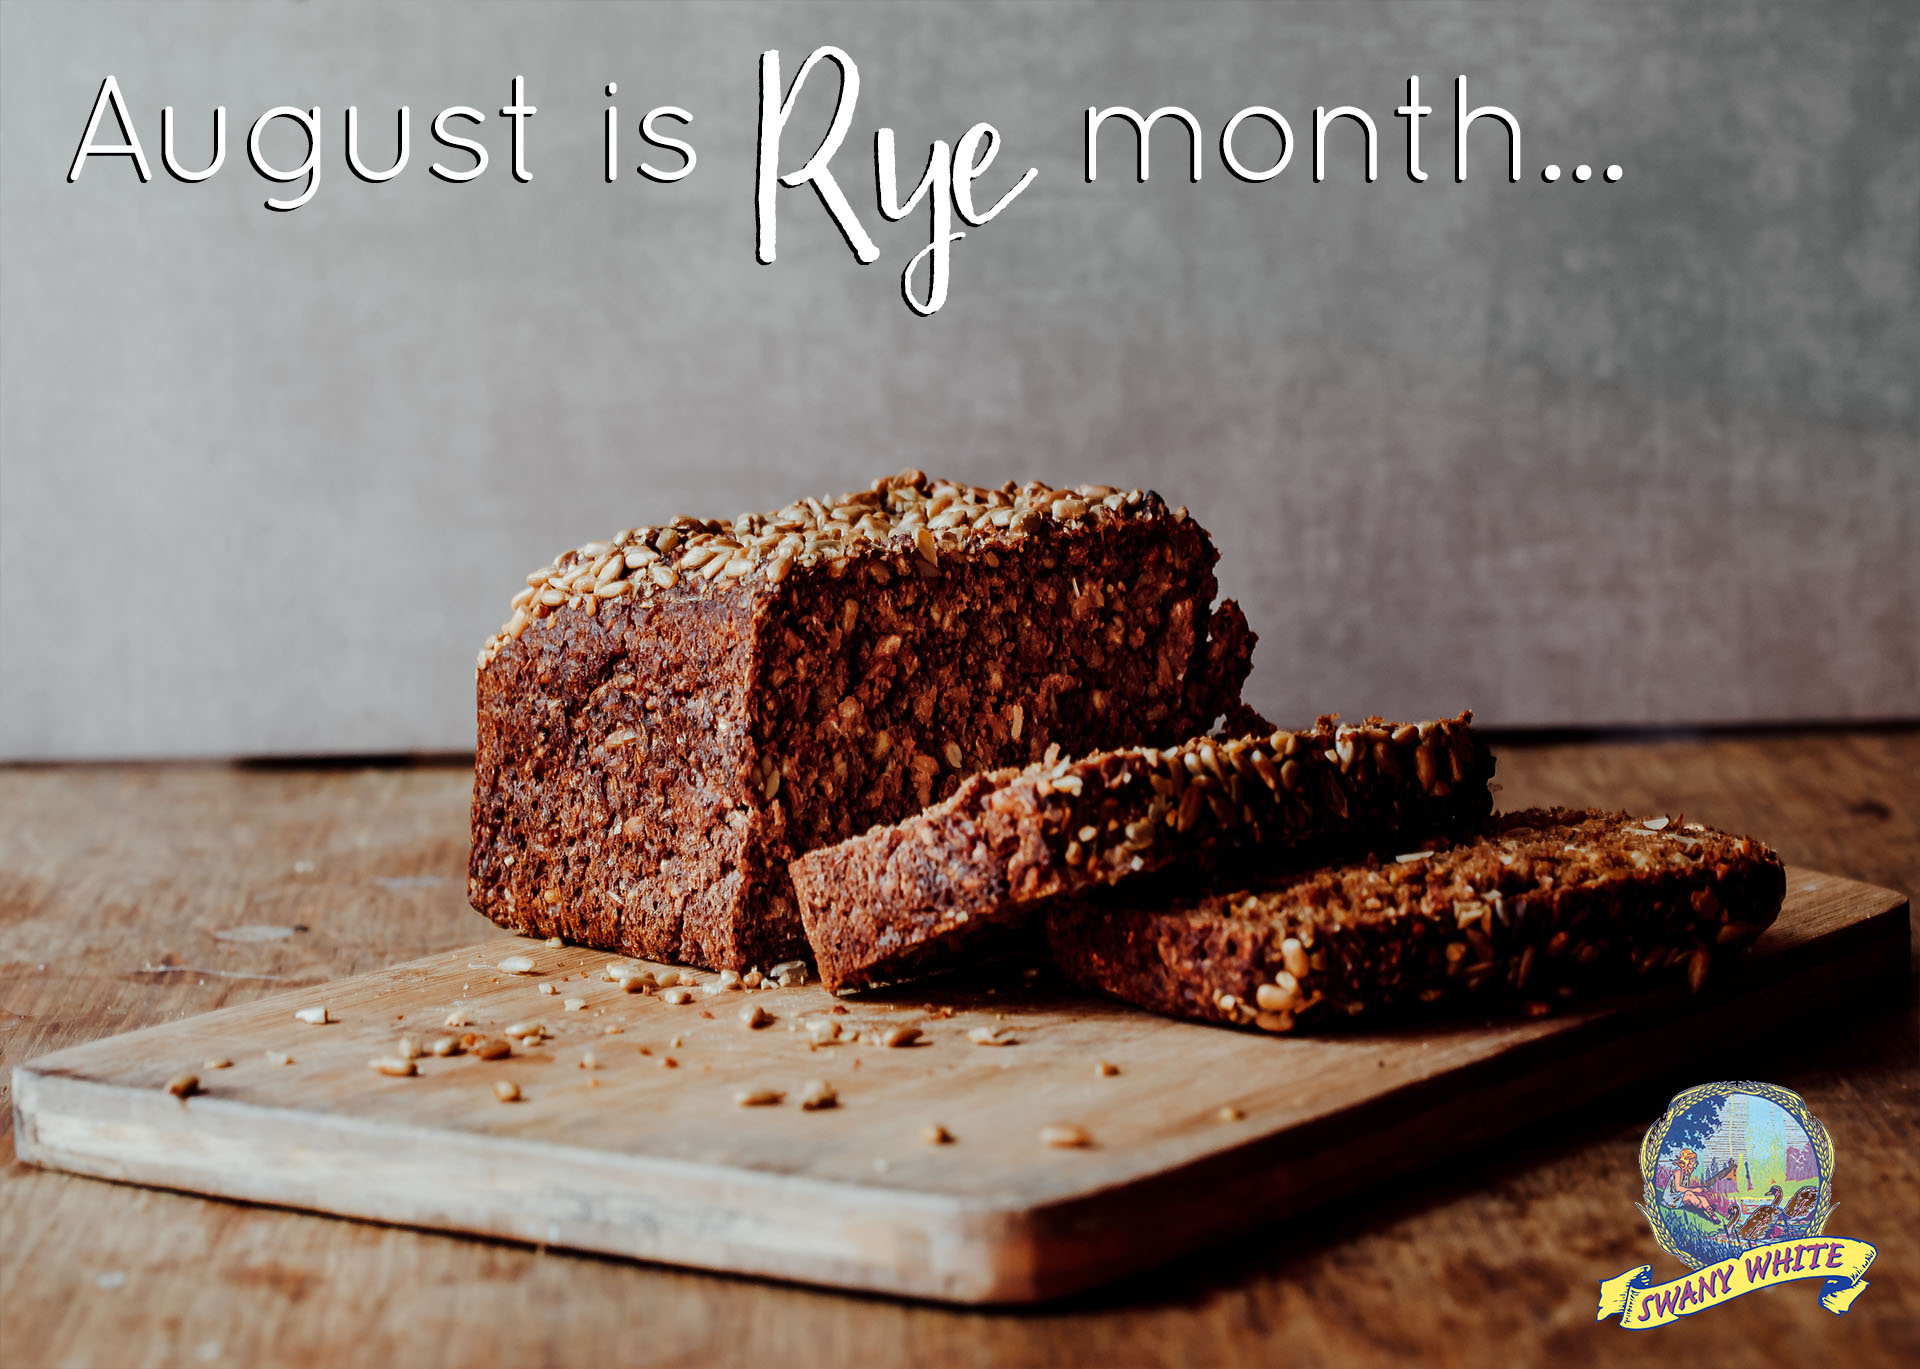
Rye is the grain of the month for August, and what better way to celebrate the tasty grain that with some delicious homemade rye bread.  Rye adds a wonderful district flavor to your bread and is a wonderful addition to your tuna, pastrami, or corned beef sandwich.  This recipe is a great version if you are new to rye bread baking.

Ingredients

  • 2¼ teaspoons active dry yeast
  • 1 cup + 2 tablespoons warm water (about 110-115 degrees F)
  • 1½ tablespoons honey
  • 2 tablespoons unsalted butter, melted
  • 1 tablespoon caraway seeds, plus more for topping
  • 2¼ teaspoons kosher salt
  • 2 cups Swany White All Purpose Flour plus more for dusting
  • 1¼ cup Swany White rye flour
  • 1 egg white, for brushing

Instructions

  1. In the bowl of an electric stand mixer, or  a large bowl if you prefer to make bread by hand, sprinkle your yeast over ¼ cup of your warm water, then add ½ tablespoon honey and whisk until the yeast dissolves completely. Let this mixture stand for about 5 minutes.  A nice foam should form.
  2. Next, add the remaining water and honey, butter, caraway seeds, and salt. Mix to combine.
  3. Gradually add in both flours, about one cup at a time, until the dough comes away from the sides of the bowl and forms a sticky ball.
  4. Knead the dough on surface that has been sprayed lightly with olive oil or you can use your dough hook for about 5 minutes, then shape into a ball.
  5. To allow the dough to rise, transfer ball to a large buttered bowl and cover tightly with plastic wrap. Set in a warm place to rise for about 1 hour, or until doubled in size.  If you have more time, you can let it rise in a room temperature room as well.
  6. Next, butter a 4-1/2 x 8-1/2 inch loaf pan and set aside until needed.
  7. Once the dough has risen, punch it down and on a lightly oiled surface, roll it out to a 7 x 7-inch square,  fold it into thirds and pinch the ends to seal. Place the dough seam-side-down in the buttered loaf pan and brush with your egg white and sprinkle with extra caraway seeds.
  8. Spray a piece of plastic wrap with cooking spray and place it on top of the dough.  Let stand for 45 minutes to 1 hour, until the dough touches the plastic wrap.
  9. Preheat your oven to 450 degrees, then when ready to bake, lower it to 400 degrees.
  10. Remove the plastic wrap and bake for 45-55 minutes or so, rotating the pan halfway through baking, until the top is a nice, golden brown.
  11. Let the bread cool in the pan for at least 30 minutes before removing and slicing.

Bringing Fair Flavors Home

It is fair season in Central Minnesota, and with the fair comes a lot of scrumptious treats.  One of our favorites is funnel cake, which was brought to America by the Dutch in about 1879.  Funnel cake is essentially fried dough that is traditionally covered in powdered sugar, but can really be topped with anything that your taste buds desire!  We invite you to try this recipe to make your own funnel cake and enjoy this wonderful carnival treat in your own kitchen!  You will be surprised to find that they are even easier to make than doughnuts.


Ingredients

  • Oil for frying

Directions

  1. Combine milk, egg, vanilla in a large bowl.
  2. In a separate bowl, combine flour, salt, baking soda, and sugar.
  3. Add your dry ingredient mixture to wet ingredients and mix with a mixer until a smooth batter forms.
  4. Once you have your batter, fold in the melted butter.
  5. Heat about 3 inches oil to 375°F in large saucepan or deep fryer.
  6. Pour batter into a funnel or squeeze bottle and use your index finger to stop the flow of the batter.
  7. Bring the funnel over the hot oil and release your finger to start a stream of batter while moving the funnel to create spiral-like shapes.
  8. Fry for 2 to 3 minutes until golden brown and slightly puffed.
  9. Sprinkle with powdered sugar.
  10. ENJOY!

As American as Apple Pie

Apple has been eaten since long before the colonization of the Americas, however, “as American as apple pie” is a saying that has been used in the United States  since the nineteenth and twentieth centuries, when apple pie became a symbol of American prosperity and national pride.  Every 4th of July, we celebrate with our families and friends and we think this Apple Pie is a great addition to your family celebration!

INGREDIENTS

FOR CRUST:

FOR FILLING:

DIRECTIONS

  1. Begin by making your crust by combining flour, salt, and sugar in a food processor and pulsing to combine.
  2. Add your butter and  pulse until mixture resembles coarse meal.
  3. Sprinkle mixture with 1/4 cup ice water and pulse again until the mixture is crumbly but holds together when squeezed with fingers.  Be careful not to over process.
  4. Form the dough into to equal disks (about 3/4 inch thick) and wrap tightly in plastic wrap,  refrigerate until firm, at least 1 hour
  5. When dough is chilled sufficiently, lightly flour a large piece of waxed paper and place one disk of dough in center. From the center outward, form into a 12-inch circle.  Repeat with second disk of dough and refrigerate both until needed.
  6.  Preheat oven to 450 degrees with a rack set in lowest position. Take your first rolled out disk from he refrigerator and carefully unroll over a 9-inch pie plate. Place back in refrigerator.
  7. Begin making filling by adding lemon juice in a large bowl, and then peeling, coring and cutting apples into 1/4-inch-thick slices; adding them to the lemon juice to prevent browning.
  8. Then Add sugar, flour, cinnamon, and salt; mix well.
  9.  Remove dough-lined pie plate from refrigerator and fill with your apple mixture.  When filling be sure apples are slightly mounded to the center.
  10. Lightly brush rim of pie shell with water to moisten.
  11. Remove second disk of dough from refrigerator and gently place over apples.  Press along moistened rim to seal and evenly trim any over hang.
  12.  Next, fold the remaining overhang under itself to form a thick rim, pinching between thumb and forefinger to form a clean edge.
  13.  Using your thumb and index finger of one hand, gently press dough against knuckle of other hand and continue around pie.
  14. Using a pairing knife, cut 5 to 6 slits in top of pie that radiate from center and place pie plate on a rimmed baking sheet in case of spillage.
  15. Bake 20 minutes the reduce the heat to 375 degrees and bake until crust is golden and juices are bubbling (usually 50 to 60 minutes more).  You can cover with foil if edges brown too quickly.
  16. Cool completely, before serving.

These Brownies are a “Cakewalk”

Summer is is full swing and that means it is festival season in Central Minnesota.  Cakewalks have been a festival staple for decades.  Folks from all over the community gather to try their luck at winning a delectable locally baked treat, some leaving with a healthy stack.  Cakewalks are not just for cakes anymore, today you will find a wide variety of yummy baked goods, including brownies!  Who doesn’t love the rich chocolatey goodness you get in each chewy bite?  Make these scrumptious brownies for your next festival and they will surely be a hit!

Ingredients:

  • 3/4 cup cocoa, unsweetened
  • 1/2 teaspoon baking soda
  • 2/3 cup melted butter, divided
  • 1/2 cup boiling water
  • 2 cups granulated sugar
  • 2 eggs, lightly beaten
  • 1 1/3 cups Swany White Flour
  • 1 teaspoon vanilla extract
  • 1/4 teaspoon salt
  • 1/2 cup coarsely chopped walnuts or pecans (extra for the top optional)
  • 2 cups (12 ounces) semisweet chocolate chips

Directions:

  1. Preheat the oven to 350 F
  2. Prep a 13x9x2-inch baking pan with butter and sprinkle with flour.
  3. In a large bowl, combine cocoa and baking soda, then mix in 1/3 cup melted butter.
  4. Slowly add boiling water and mix until well blended.
  5. Mix in sugar, beaten eggs and remaining 1/3 cup butter, combine well.
  6. Slowly mix in flour and salt, avoiding lumps.
  7. Finally, mix the nuts and the chocolate chips into batter.
  8. Pour batter in the evenly in to prepared baking pan.
  9. Sprinkle aqdditional chopped nuts for on top for a wonderful crunch, if desired.
  10. Bake for 35 to 40 minutes or until the brownies are a bit firm.
  11. Be sure to allow time to cool prior to cutting.
  12. ENJOY!!

S’more Good Stuff!!!

One summer time favorite is the ooey-gooey scrumptious S’more.  We love the way the hot marshmallow blends with the chocolate and that crunch of the graham cracker.  Well, we think these flavors and textures are even better when paired with a delicious cupcake!


It’s National Cupcake Day!

It is National Cupcake Day, and what better way to celebrate than with some delicious fresh cupcakes!  Here is a recipe we think you will love!  Bake and enjoy!

Ingredients

  • Cupcake Batter

  • 1 cup sugar
  • 1 cup butter, softened
  • 4 eggs
  • 1 ⅔ cup Swany White Flour
  • 1 teaspoon baking powder
  • 2 tablespoons milk
  • ½ tablespoons grated carrot
  • 1 teaspoon raisins, chopped
  • ¼ teaspoon cinnamon
  • 1 teaspoon walnuts, chopped
  • Cream Cheese Frosting:

  • 4 cups powdered sugar, sifted lightly to remove any lumps
  • 1 lb packages cream cheese, at room temperature
  • ½ cup unsalted butter, at room temperature
  • 1 tablespoon vanilla extract


Directions

For the frosting:

  1. In a large bowl, mix butter and cream cheese together until smooth.  A hand mix3er will work best for this.
  2. Slowly add in the powdered sugar and vanilla until it is nice and creamy.
  3. Chill.

For the cupcakes:

  1. Prepare a cupcake pan with liners and preheat your over to 350 degrees.
  2. In a medium sized bowl, whisk butter until fluffy, a stand mixer works best for this.
  3. Slowly add the sugar to your butter and cream until the butter is fairly light in color.
  4. Add eggs, one at a time, being sure that each egg is mixed completely before adding the next.
  5. Pour milk in while mixing.
  6. Then add your Swany White Flour and baking powder and mix until smooth, being careful to not over-mix.
  7. Add in the carrots, raisins, cinnamon and chopped walnuts.
  8. Scoop into cupcake liners, about 1/3 full.
  9. Bake for 16 to 18 minutes then remove from the oven and cool.
  10. Frost and decorate however you like!

Store Bought vs. Homemade

We know that baking bread can fill your home with amazing aromas and that fresh bread out of the oven has a taste like no other, but is homemade bread really better for you?  We think it is.  As consumers, we have become more health conscious and aware of what we are eating and where it comes from.  Many of us are avid label readers and we have come to know the concerns of all of the additives in today’s food.  Store bought bread is mass produced and often contains ingredients that are less than desirable.  Just take a look at the common ingredients for a store bought white sandwich bread:

Water, Unbleached Flour (Wheat Flour, Malted Barley Flour), Whole Durum Flour, High Fructose Corn Syrup, Bleached Oat Fiber, Wheat Gluten, Sugar, Yeast, Contains Less Than 2% of Each of The Following: White Rye Flour, Calcium Sulfate, Soybean Oil, Salt, Calcium Carbonate, Sodium Stearoyl Lactylate, Calcium Propionate (Preservative), Monoglycerides, Monocalcium Phosphate, Enzymes, Ferrous Sulfate, Azodicarbonamide, Niacin, Ascorbic Acid Added As A Dough Conditioner, Calcium Peroxide, Thiamine Hydrochloride, Riboflavin, Folic Acid, Soy Lecithin.

Compare that to this recipe for a simple homemade white sandwich bread:

Ingredients:

2 1/2 cups warm water

1 Tbsp. active dry yeast

1 Tbsp. sugar

6-6 1/2 cups Swany White flour

https://swanywhiteflour.com/?p=396&preview=true2 tsp. salt

1/4 cup butter, softened


Directions:

1.) Pour 1/2 cup of the water into a bowl and add in the yeast and sugar mix well. Let stand until foamy, this should be about 5 minutes.

2.) Add the rest of the water and about half of the flour and mix until well blended.

3.) Add the remaining flour, salt and butter and mix by hand.

4.) Continue to knead until it’s smooth and has some elasticity.

5.) Shape it into a ball and place it back in the bowl and cover with a small towel for 1 – 1 1/2 hours, until it’s doubled in size.

6.) Prepare two 4″x8″ loaf pans with butter.

7.) Punch the dough down and then pat into a large rectangle, about 9×12″.

8.) Starting with the short side of the dough, fold it in thirds with the seam side down, place in prepared pan and cover again for an hour, until they have risen just over the pan.

9.)  Bake for 30-35 minutes, at 375 degrees in the center of the oven until the loaves are nicely browned, be careful not to over bake.

10.) Immediately remove from pans and place on a rack to cool.


If you take the time and plan ahead, you can always have fresh homemade bread.

Sunday Morning Sweet Rolls

Rainy Day Cookies


The only thing better on a cold and rainy day than the smell of fresh cookies is the taste!  You can warm up with these tasty super soft oatmeal cookies on any rainy day!

INGREDIENTS

  • 1 cup butter room temperature 
  • 1 cup brown sugar tightly packed 
  • 1/2 cup sugar
  • 2 large eggs
  • 1 1/2 teaspoon vanilla extract
  • 1 3/4 cup Swany White Flour
  • 2 teaspoons cornstarch
  • 1 teaspoon baking soda
  • 3/4 teaspoon salt
  • 3/4 teaspoon cinnamon
  • 3 cups Swany White Oatmeal

**You can mix it up by adding 1-2 cups of raisins, chocolate chips, dried cranberries, or chopped nuts (or any combination of these).**


DIRECTIONS

  1. In a large bowl, beat butter for about 30 seconds.  Then add white and brown sugar and beat until light and fluffy, scraping the sides when needed.
  2. Continue beating as you add each egg in, one at a time.
  3. Then add the vanilla extract.
  4. In a separate bowl, combine the flour, cornstarch, baking soda, salt, and cinnamon.  Make sure it is well blended.
  5. Gradually combine the dry ingredients to butter mixture and mix completely.
  6. Next, stir in oats and any other add-ins until completely combined.
  7. Cover the dough and refrigerate for about 30 minutes.
  8. While dough is chilling, preheat oven to 375F and line cookie sheets with parchment paper.
  9. Make 2 tablespoon sized balls and drop onto parchment paper, keeping cookies at least 2″ apart.
  10. Bake at 375F for 10-12 or until the edges are slightly browned.
  11. Once cookies have cooled, enjoy!!

Great Granola

As summer approaches, so does berry season.  And one of the best summer breakfast combinations is fresh berries with a great homemade granola.  You can add cold milk,  yogurt, or even ice cream for a real treat.

Homemade granola is not only easy to make, it is completely customizable.  Try this simple recipe and have fun experimenting with some add ins like: chia seeds, coconut, pepitas, raisins, other dried fruits, and nuts.  The possibilities are endless.

  • 3 cups Swany White Oatmeal
  • Up to 2 cups of your favorite add ins
  • 1/2 cup Pure Maple Syrup
  • 1/4 cup Brown Sugar
  • 1/4 cup Grapeseed Oil Or Other Neutral Oil
  • 1/2 teaspoon Salt

1.) Preheat oven to 300ºF.

2.) In a large bowl, stir to combine oatmeal and add is so that it is mixed well.

3.) In another bowl, combine maple syrup, brown sugar, oil, and salt.

4.) Combine the syrup mixture with the oatmeal mixture, and mix well.

5.) Spread the granola evenly onto a sheet pan.

6.) Bake for 45 minutes being sure to stir about halfway through.

7.) Let the granola cool completely, then enjoy!!

This granola can be stored in an airtight container 2 weeks, at room temperature.